Rendering GLSL Shaders into Videos
by Ethan Alexander Shulman (December 20, 2020)
Hi in this article I'm going to show how I render fullscreen GLSL shaders into video files, even if the shader is too slow for real-time capture.
I have created a lightweight(<2mb) program called Shaderview for this purpose, from that link you can download builds for Linux and Windows.
The program supports multiple shader passes, custom uniform textures, rendering delay(accumulate frames like a path tracer) and should have everything needed for full shader rendering support.
Loading and Rendering a Shader
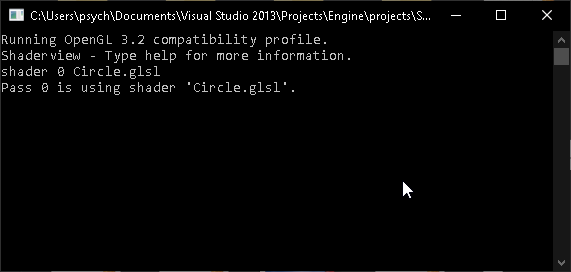
When you open Shaderview you will be greeted with a console window, everything is done using console commands which might scare some people but its seriously worth it learning to use them!
 Console commands are much quicker to interact with and it allows other programs to interact with and automate functions.
To make things faster we can abbreviate commands for example 'help' can be typed in as 'h'.
For this example I'm going to use a spinning circle shader that has a small motion blur effect, see the GLSL code below.
 Now that the shader is loaded we need to render it, type in 'render start'.
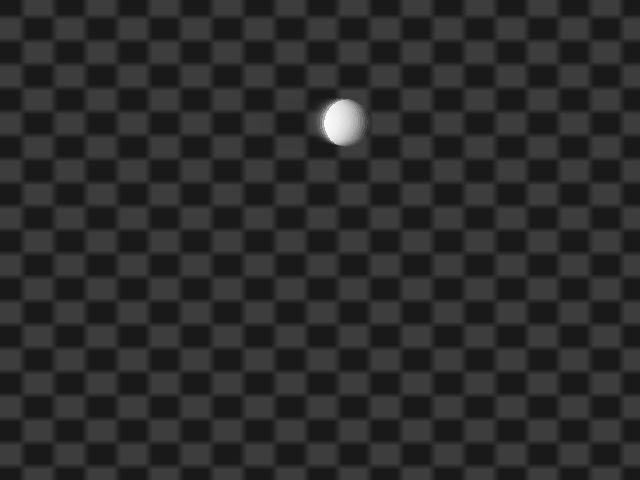
 A spinning blurry circle should be displayed.
 Console commands are much quicker to interact with and it allows other programs to interact with and automate functions.
To make things faster we can abbreviate commands for example 'help' can be typed in as 'h'.
For this example I'm going to use a spinning circle shader that has a small motion blur effect, see the GLSL code below.
#version 150
precision highp float ;
in vec3 in_Position;
out vec2 pos, uv;
layout ( std140) uniform ShaderviewBlock {
vec4 mouse;
float screenX, screenY;
int frame, framerate;
} ;
uniform sampler2D Buffer0; //framebuffer texture for pass 0
void vert( ) {
float time = float ( frame) / float ( framerate) ;
pos = in_Position. xy* vec2 ( screenX/screenY, 1) + //aspect correct
vec2 ( sin( time) , cos( time) ) * . 5; //spin position over time
uv = ( in_Position. xy* 0. 5+ 0. 5) * vec2 ( screenX, screenY) ; //screen pixel position
gl_Position = vec4 ( in_Position, 1) ;
}
void frag( ) {
gl_FragColor = mix( vec4 ( step( length( pos) , . 1) ) , //circle
texelFetch( Buffer0, ivec2 ( uv) , 0) , . 8) ; //motion blur
}
Save the above text as 'Circle.glsl' in the directory you launched Shaderview from. Now to load it we use the 'shader' command and set our shader to pass 0(the first pass).
Type into the console 'shader 0 Circle.glsl'.
 Now that the shader is loaded we need to render it, type in 'render start'.
 A spinning blurry circle should be displayed.
Capturing Images
Now that we have something rendered, we can easily capture an image. Type 'capture' in the console, you should find a file named 'capture0.png' in Shaderviews working directory.
 You can see it is different then screen shotting because it captures the alpha transparency.
 You can see it is different then screen shotting because it captures the alpha transparency.
Capturing Videos
To capture videos we need FFmpeg. On Windows we either need to put ffmpeg.exe in the same directory as Shaderview or add ffmpeg.exe to your PATH environment variable.
Before we capture the video we need to choose the framerate for our animation using the 'framerate' command, I'm going to set it to 60fps. Enter in the console 'framerate 60'.
Now to capture video we need to enter the number of frames to capture, I'm going to capture 4 seconds so that's 4 x 60 = 240. Enter in the console 'capture 240' and wait until
the message 'Done capturing.' is displayed. You should find a file named 'video.mp4', the video of the animation.
There is currently an issue on Windows where console text input/output breaks after capturing a video.
Thanks for Reading!
If you have any questions feel free to reach out to me at xaloezcontact@gmail.com.